How to configure the DMZ
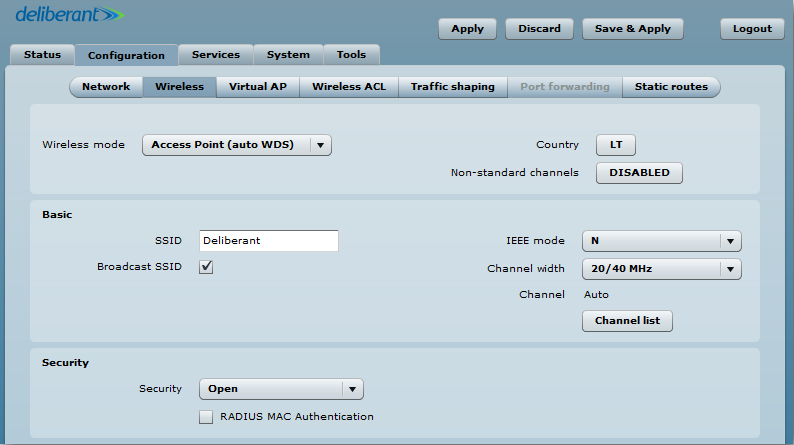
Step 1. Set up the wireless mode. The provided example is for the Access Point (Auto WDS) wireless mode.
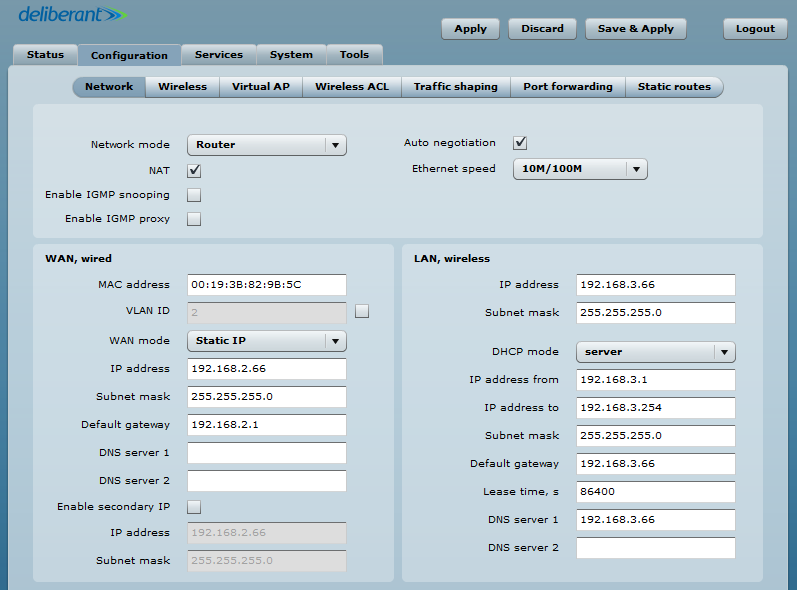
Step 2. Set the network mode to Router and then set the IP addresses for the DHCP server as well as the addresses for the wired WAN.
Step 3. Under Port Forwarding, tick the Enable DMZ option. Then, in the IP address field, enter the LAN IP that you wish to reach via the DMZ.
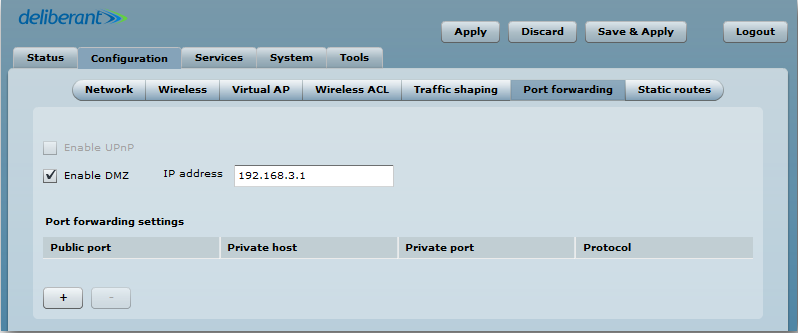
The main function is to provide reachability to the LOCAL LAN devices from the WAN when all ports are redirected to one IP address (I.E. 192.168.3.1).
How to test:
Step 1. Two computers are needed in order to test the DMZ function. In this case, they will be referred to as PC1 and PC2.
Step 2. PC1 should be connected to the WAN port of the device with an IP from subnet 2. In this case, it was 192.168.2.90. PC2’s LAN IP address will be provided from the device’s DHCP server from subnet 3. In this case, it is 192.168.3.1.
Step 3. Once the first two steps are completed, try to enter the access point from PC1 using 192.168.2.66. The DMZ function should apply and the user should be redirected to the LAN subnet IP address 192.168.3.1—the one that was entered into the IP address field.